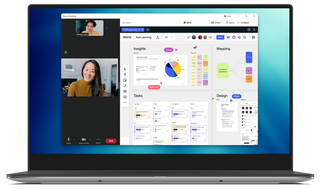
In our digitalizing world, video conferences have now become an integral part of our business lives, education and even personal relationships. Zoom is one of the most popular and widely used platforms in this field and attracts attention not only with voice and video calls but also with its screen sharing feature. In this blog post, we will examine how to enable screen sharing on Zoom, step by step.
Step 1: Start the Zoom Meeting Before your video conference starts, open the Zoom app and start or join a meeting. You can enable screen sharing during any meeting, whether for one-on-one conversations or large groups.

Step 2: Click the Screen Sharing Icon At the bottom of the meeting window, there is a green "Screen Sharing" icon. When you click on this icon, you will see different screen options that you can share.

Step 3: Select the Screen You Want to Share You may want to share the PowerPoint window while giving a presentation, a document during a video conference, or any web page. From the options that appear, select the screen or window you want to share.

Step 4: Start Screen Sharing After making your selection, start screen sharing by clicking the "Share" button. Meanwhile, other people participating in your video conference will be able to see the screen you selected live.
Step 5: End Screen Sharing When you want to end your screen sharing, you can end screen sharing by clicking the red "Stop Sharing" button at the top of the sharing window.
Note: If you want to transfer audio while screen sharing, you must also activate the audio sharing option from the screen sharing menu.
All in all, screen sharing via Zoom is a very useful feature for giving a presentation, showing a document, or navigating a web page during a video conference. We hope this guide helped you better understand the process of screen sharing on Zoom. Now, you can use this feature with peace of mind during your next video conference!


